Cài Đặt Obsidian Từ Zero: 10 Phút Cho Dev Việt 2026
Cài đặt Obsidian từ zero mất 10 phút trên Windows, Mac, Linux, hoặc mobile iOS/Android. Đây là hướng dẫn step-by-step cho developer: download installer chính thức, tạo vault đầu tiên, cấu hình settings cốt lõi, cài 5 plugin must-have, và setup sync mobile cơ bản. Mọi bước đều có screenshot description rõ ràng, không cần kinh nghiệm trước.
Bài này focus vào install + setup ban đầu. Sau khi cài xong, bạn nên đọc tiếp Obsidian là gì nếu cần hiểu khái niệm, pillar Obsidian + Claude Code nếu muốn integrate AI workflow, hoặc 12 plugin must-have cho extension nâng cao.
TL;DR
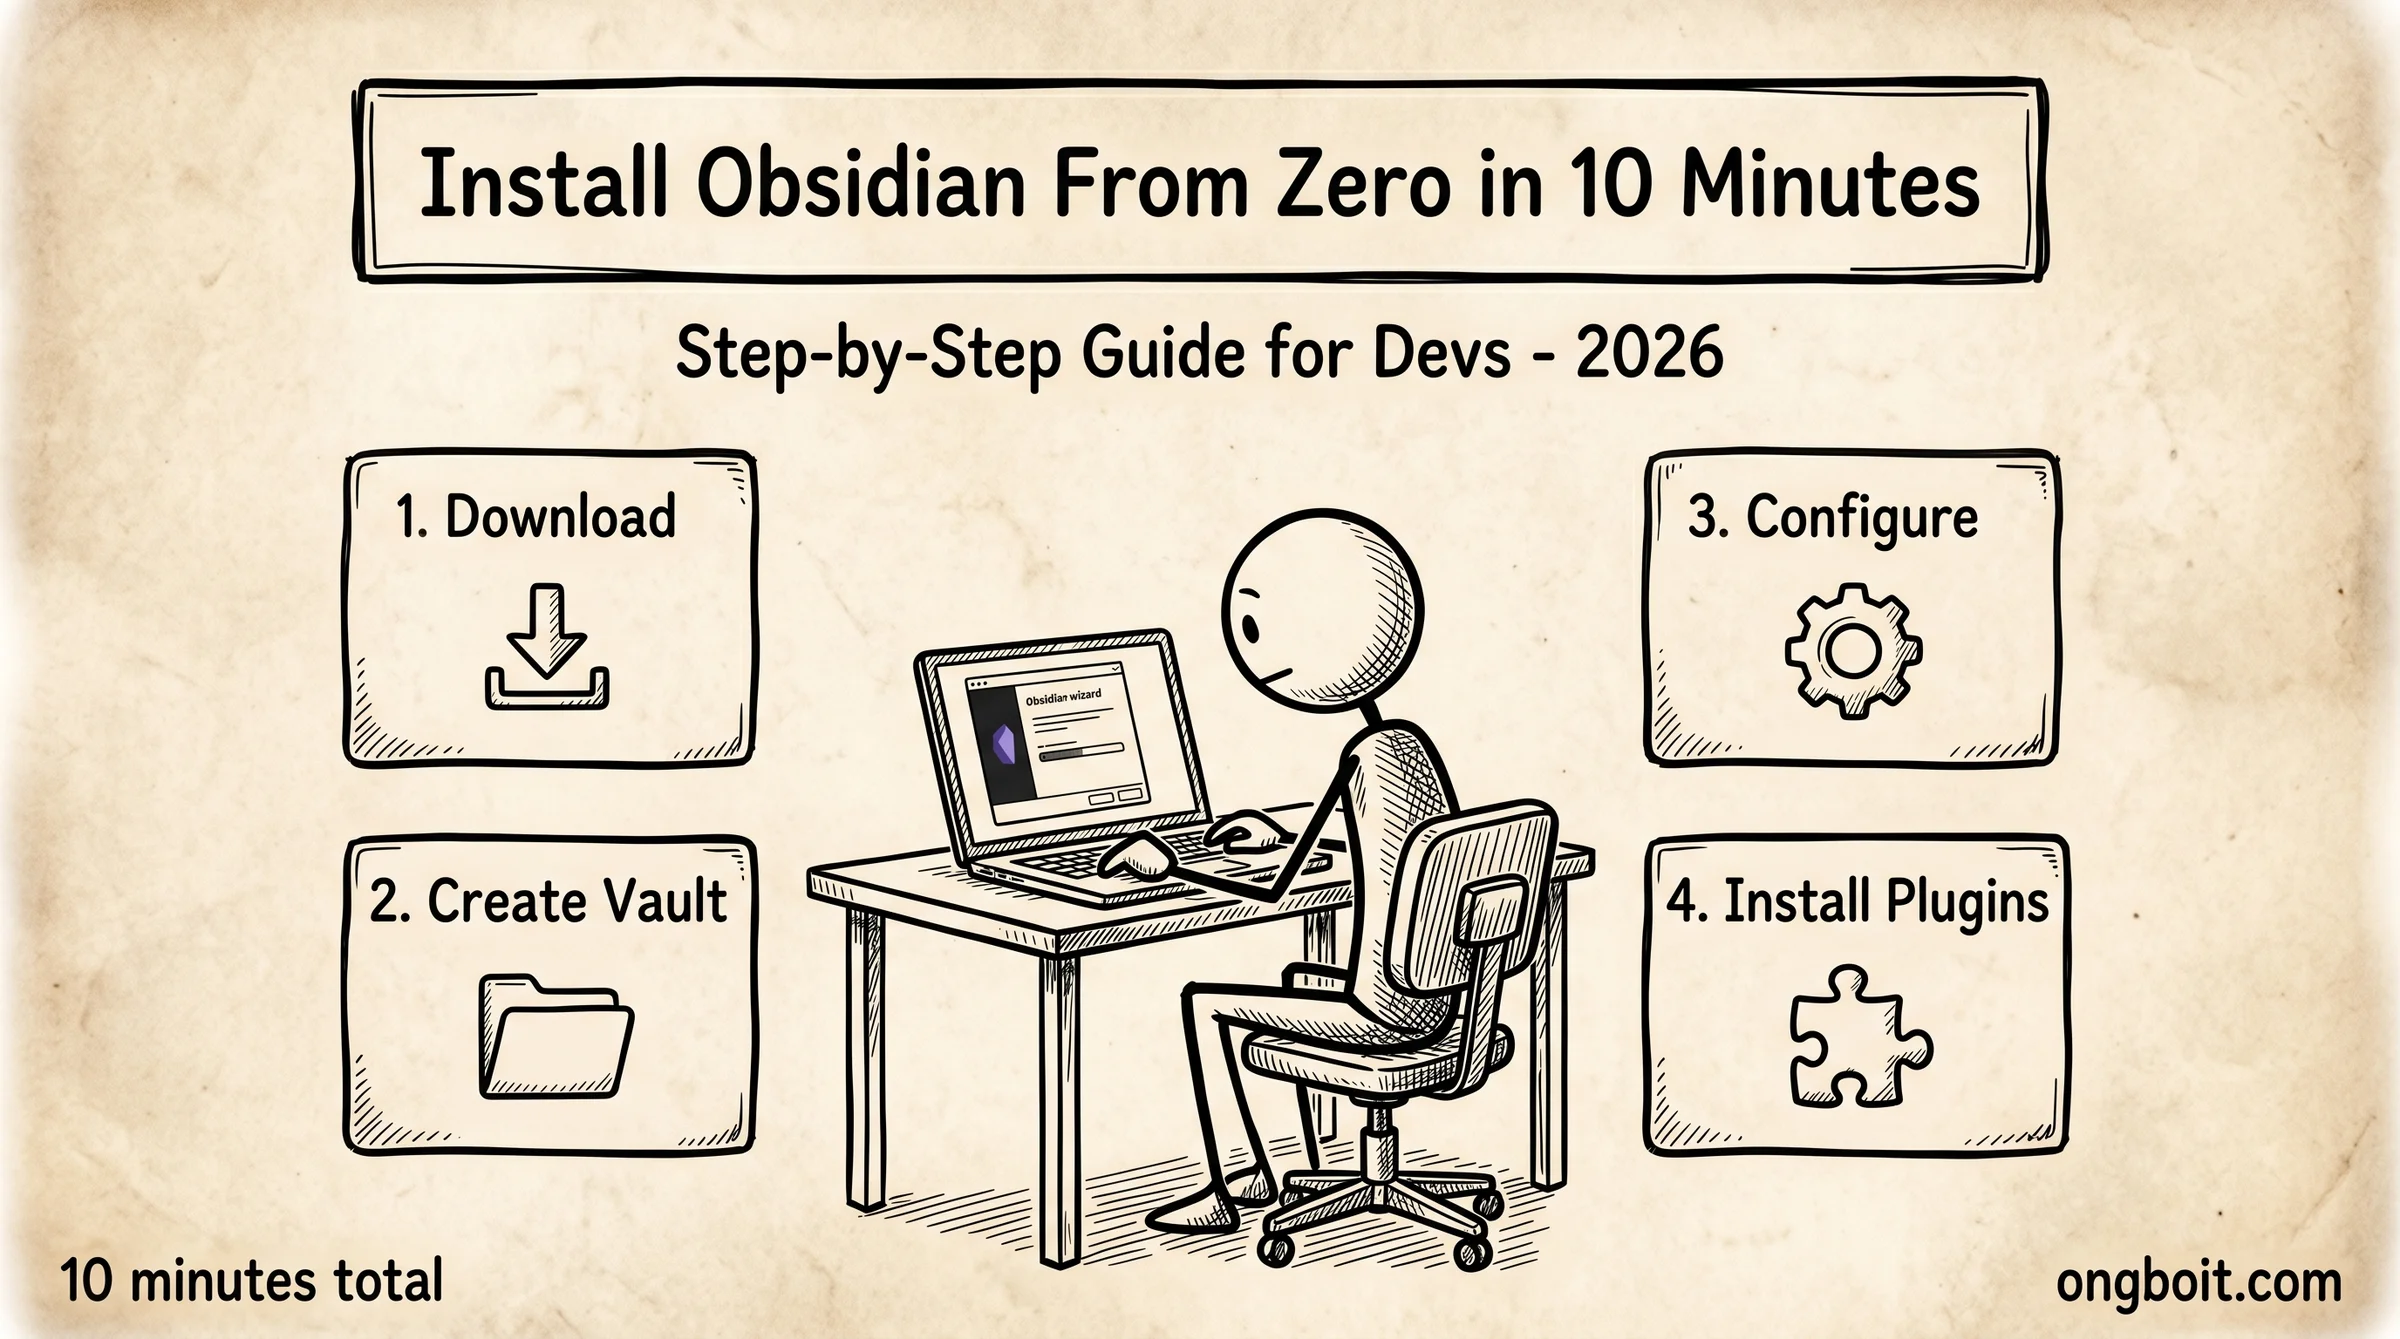
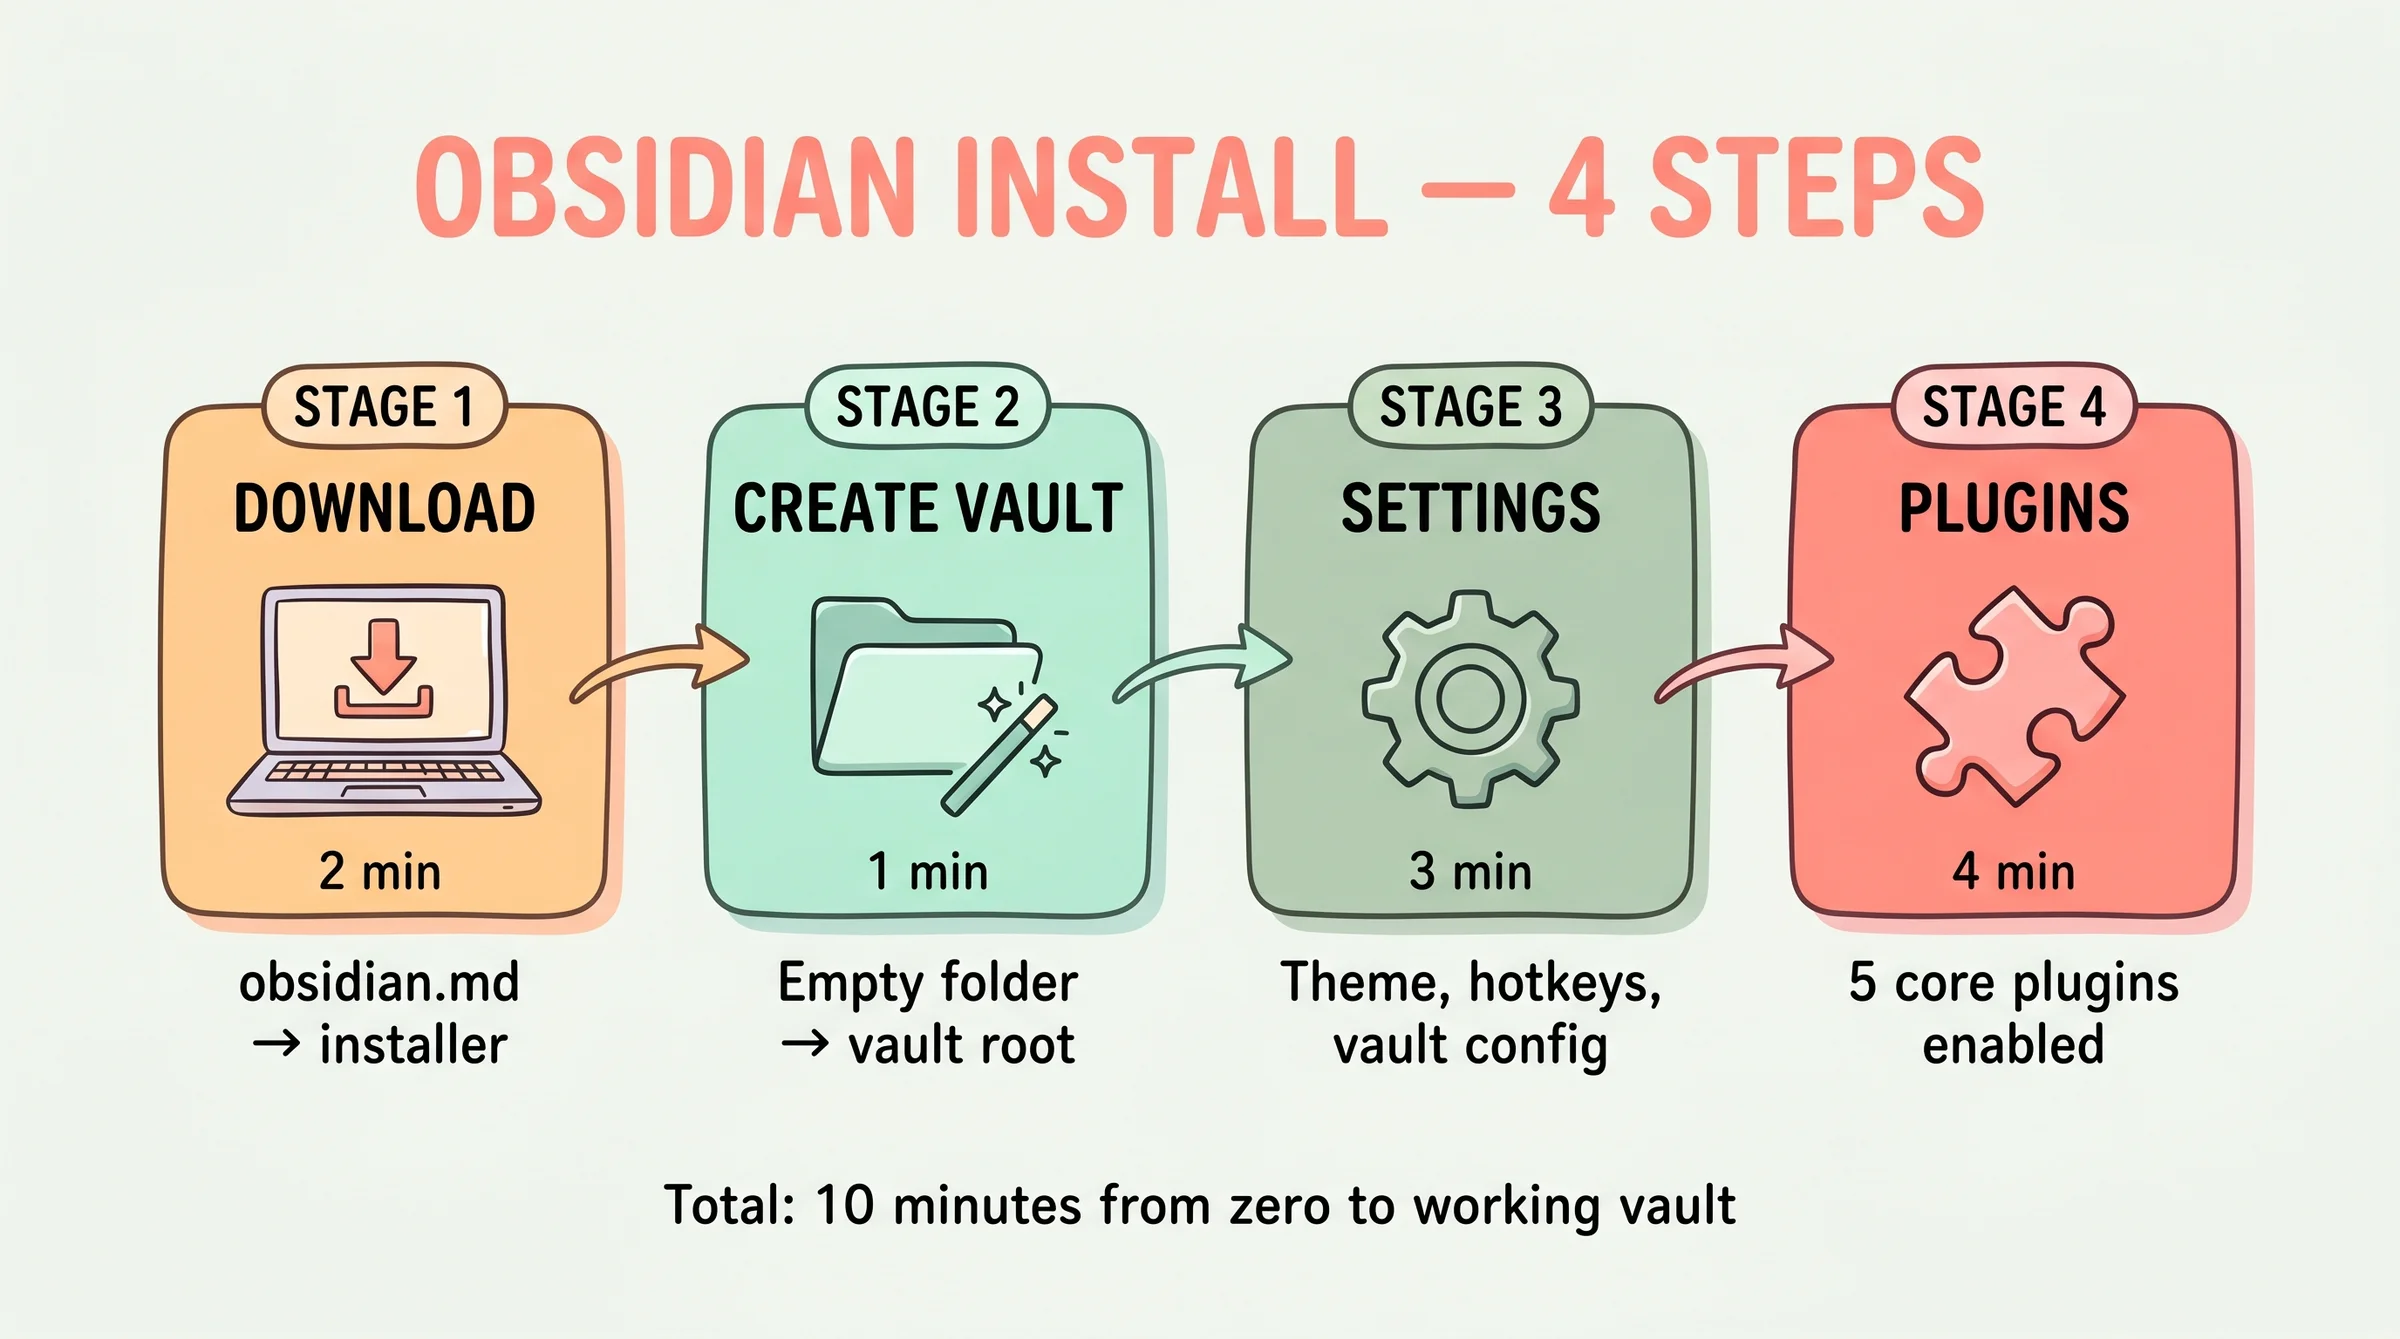
- 4 bước cài đặt 10 phút: download Obsidian từ obsidian.md, install desktop app, tạo vault đầu tiên, cấu hình appearance cơ bản. Không cần kinh nghiệm trước.
- Cross-platform: Windows (.exe), Mac (.dmg), Linux (.deb/.rpm/.AppImage/Snap), iOS (App Store), Android (Google Play). Vault format identical cross-platform.
- 5 plugin core nên cài ngay: Periodic Notes, Templater, Calendar, Obsidian Git, Excalidraw. Setup từng plugin 2-3 phút.
- Mobile sync free: Syncthing P2P giữa desktop + mobile, không cần Obsidian Sync $4/tháng. Setup 30 phút lần đầu, sau đó automatic.
Trước Khi Cài Cần Chuẩn Bị Gì?
Trước khi cài Obsidian, bạn cần chuẩn bị 3 thứ. Một, máy tính đáp ứng yêu cầu hệ thống cơ bản. Hai, kế hoạch lưu vault ở đâu (folder cụ thể trên ổ cứng). Ba, optional: account GitHub free nếu bạn muốn version control vault qua Git sau này.
Yêu cầu hệ thống tối thiểu Obsidian. Windows 10 trở lên (64-bit), macOS 10.13 trở lên, Linux kernel 4.x với glibc 2.27+. Mobile: iOS 14+ hoặc Android 7.0+. RAM 2GB tối thiểu, recommended 4GB+ cho vault qua 500 notes. Dung lượng ổ cứng 200MB cho app + dung lượng vault tăng theo notes (1000 notes ~10MB markdown thuần, plus images embedded).
Quyết định folder lưu vault. Obsidian không enforce location, bạn quyết định. Recommend ~/Documents/MyVault/ hoặc ~/ObsidianVault/. Tránh đặt trong ~/iCloud Drive/ (có report file corruption) hoặc ~/Dropbox/ (sync conflict). Nếu plan sync qua Git, đặt trong ~/repos/my-vault/.
Account GitHub không bắt buộc nhưng recommended. Lý do: vault chứa kiến thức tích lũy theo thời gian, mất là tổn thất lớn. Git provide version history miễn phí + backup automatic. Sau khi quen Obsidian 1-2 tuần, setup git repo cho vault là bước tiếp theo nên làm.
Bước 1: Download Obsidian Cho Hệ Điều Hành Của Bạn
Bước 1 download Obsidian từ trang chính thức obsidian.md. Tránh tuyệt đối các trang download không chính thức (có report malware bundled). Trang chính thức tự detect OS và suggest version phù hợp.
Trên Windows. Vào obsidian.md, click “Download for Windows”. File Obsidian-1.x.x.exe size ~100MB. Click run installer, chọn install location (default C:\Users\[user]\AppData\Local\Programs\Obsidian\ ổn). Installer chạy 30-60 giây. Sau khi install, Obsidian tự khởi động.
Trên Mac. Vào obsidian.md, click “Download for Mac”. File Obsidian-1.x.x.dmg size ~120MB. Mở file .dmg, drag Obsidian icon vào Applications folder. Mở Obsidian từ Applications. Mac có thể hiển thị warning “unknown developer” lần đầu, vào Settings → Privacy → Allow Obsidian.
Trên Linux. Có 4 lựa chọn theo distro. Ubuntu/Debian: tải .deb từ obsidian.md, chạy sudo dpkg -i obsidian_.deb. Fedora/RHEL: tải .rpm, chạy sudo rpm -i obsidian-.rpm. Universal: tải .AppImage, chmod +x và run. Snap: sudo snap install obsidian --classic. Recommend AppImage cho dev không muốn mess với package manager.
Trên mobile. Cài qua App Store (iOS) hoặc Google Play (Android). Search “Obsidian”, icon hình tinh thể tím đen, publisher “Obsidian.md”. Free, không có IAP nag screen. Mobile app full-featured, chỉ cần config sync với desktop.
Bước 2: Tạo Vault Đầu Tiên Trong 2 Phút
Bước 2 tạo vault Obsidian đầu tiên. Khi mở Obsidian lần đầu, screen welcome hiển thị 3 option: “Create new vault”, “Open folder as vault”, hoặc “Open existing vault”. Pick option đầu cho user mới, option thứ hai nếu bạn đã có folder markdown sẵn.
Click “Create new vault”. Dialog hiện ra với 2 field. Field “Vault name” nhập tên vault, ví dụ “MyKnowledge” hoặc “DevNotes”. Tên vault chỉ là display name, không phải folder name (Obsidian sẽ tạo folder cùng tên ở location bạn chọn). Field “Location” chọn parent folder, recommend ~/Documents/.
Click “Create” và Obsidian tạo folder ~/Documents/MyKnowledge/ chứa initial vault structure. Vault mới có 0 note, chỉ có folder ẩn .obsidian/ chứa config Obsidian. Bạn được redirect đến main editor view.
Tạo note đầu tiên. Click icon “New note” ở sidebar trái (hoặc Ctrl/Cmd+N). Note mới tên “Untitled” tạo ra. Đổi tên thành “Welcome” bằng F2 hoặc click vào title. Type vài câu trong body, save bằng Ctrl/Cmd+S (Obsidian auto-save by default nhưng manual save để chắc).
Khám phá UI cơ bản. Sidebar trái có file explorer, search, bookmarks. Sidebar phải có graph view, backlinks, outgoing links, tags. Top menu có settings, plugins, community plugins. Bottom status bar có word count, cursor position, sync status. Quen UI 5 phút là đủ start workflow basic.
Bước 3: Cấu Hình Settings Cốt Lõi 5 Phút
Bước 3 cấu hình settings cốt lõi để tối ưu workflow. Mở Settings (Ctrl/Cmd+,). Settings có 20+ section, focus 5 section quan trọng nhất cho beginner.
Editor settings. Bật “Spell check” nếu muốn check chính tả. Bật “Strict line breaks” nếu bạn quen markdown chuẩn (recommend). “Show line number” giúp navigate file dài. “Default new pane mode” để “Tab” để mở note mới trong tab thay vì replace.
Files & Links settings. “Default location for new notes” chọn folder cụ thể (ví dụ inbox/) thay vì root. “New link format” chọn “Shortest path when possible” cho wikilinks gọn. “Use [[Wikilinks]]” bật on (đây là Obsidian convention chuẩn). “Detect all file extensions” để Obsidian recognize file ngoài .md (như .canvas, .base).
Appearance settings. Theme “Obsidian” default đen-xám, “Light” mode trắng, hoặc tải theme từ Community Themes (Minimal, Things, AnuPpuccin phổ biến). Font interface mặc định OK, có thể đổi sang Inter hoặc IBM Plex. Font text editor recommend Source Code Pro hoặc Fira Code cho monospace.
Hotkeys settings. Mặc định Obsidian có 100+ hotkey. Customize 5 hotkey thường dùng: Ctrl/Cmd+P (command palette), Ctrl/Cmd+O (quick switcher), Ctrl/Cmd+E (toggle live preview/source), Ctrl/Cmd+Shift+F (search vault), Ctrl/Cmd+G (graph view). Memorize 5 hotkey này tăng productivity 50%.
Core plugins settings. Obsidian có 30+ core plugin built-in. Bật những plugin sau: Daily notes, Outline, Page preview, Quick switcher, Search, Tag pane, Templates, File recovery. Disable: Audio recorder, Bookmarks (nếu không dùng), Workspaces (advanced feature). Sau khi bật, restart Obsidian apply.
Bước 4: Cài 5 Plugin Core Trong 5 Phút
Bước 4 cài 5 community plugin core nâng cấp Obsidian từ basic note-taking lên productivity tool. Vào Settings → Community plugins → Turn on community plugins (lần đầu). Sau đó Browse → search và install từng plugin.
Plugin 1: Periodic Notes. Auto-tạo daily/weekly/monthly notes theo schedule. Search “Periodic Notes”, install, enable. Settings → Periodic Notes → enable Daily Notes (format YYYY-MM-DD, folder daily/). Combo với Calendar plugin sẽ giải thích ở plugin 4.
Plugin 2: Templater. Template engine với JavaScript embedding, mạnh hơn core Templates plugin. Search “Templater”, install, enable. Settings → Templater → Template folder location chọn templates/. Tạo template đầu tiên: tạo file templates/daily.md với placeholder date. Bài 12 plugin must-have cover Templater detail.
Plugin 3: Obsidian Git. Auto-commit + push vault lên GitHub repo. Search “Obsidian Git”, install, enable. Settings → Obsidian Git → set commit interval 10 phút, auto-push enable. Trước đó cần tạo GitHub repo private + clone vào folder vault (hoặc init git trong vault folder và add remote). Setup này provide version control + backup automatic.
Plugin 4: Calendar. Sidebar widget hiển thị calendar, click date jump tới daily note. Search “Calendar” by Liam Cain, install, enable. Settings → Calendar → start of week chọn Monday. Calendar tự sync với Periodic Notes plugin: click date sẽ create hoặc open daily note tương ứng.
Plugin 5: Excalidraw. Hand-drawn whiteboard sketching trong Obsidian. Search “Excalidraw”, install, enable. Lần đầu mở Excalidraw note (Cmd/Ctrl+P → “Excalidraw: Create new drawing”), Obsidian setup workspace. Excalidraw giá trị cho sketch architecture diagram, mind map, system flow. Bài 12 plugin chi tiết có guide setup full.
Setup Mobile Sync Cơ Bản
Setup mobile sync cho phép edit vault trên cả desktop và mobile, sync tự động. Có 4 lựa chọn chính covered chi tiết trong bài sync mobile workflow. Beginner recommend Obsidian Sync chính chủ ($4/tháng) hoặc Syncthing free.
Obsidian Sync setup nhanh. Mở Settings → Core plugins → enable “Sync”. Settings → Sync → Login với Obsidian account (tạo free nếu chưa có). Subscribe Sync plan ($4/tháng billed annually = $48/năm). Setup vault sync, chọn folder cần sync (recommend toàn vault). Trên mobile, install Obsidian app, login cùng account, vault sẽ tự sync từ cloud về.
Syncthing setup phức tạp hơn nhưng free. Cài Syncthing trên desktop (brew install syncthing Mac, exe Windows). Generate device ID, share với mobile device cài Syncthing-Fork (Android) hoặc Mobius Sync (iOS, $4 one-time). Define folder sync = vault folder. Syncthing sync P2P direct, không qua cloud trung gian. Latency 30-60 giây nhưng zero recurring cost.
Mobile workflow capture. Note ngắn capture trên mobile khi đi đường (idea, todo, photo). Về desktop cuối ngày, sync xong, edit deep + apply Templater/Excalidraw. Workflow này phù hợp developer vì mobile capture tự nhiên, desktop heavy editing tối ưu. Daily notes workflow cover pattern này detail.
Câu Hỏi Thường Gặp
Cài Obsidian có cần internet không?
Có cho lần download initial. Sau khi cài, Obsidian hoạt động hoàn toàn offline. Update Obsidian + community plugins cần internet (auto-check khi mở app). Vault local-first, không phụ thuộc connection internet.
Vault có thể đặt trong Dropbox/Google Drive được không?
Được nhưng KHÔNG khuyên. Cloud sync services như Dropbox, Google Drive, OneDrive thường conflict với Obsidian rapid writes. Báo cáo file corruption + duplicate phổ biến. Recommend dùng Obsidian Sync chính chủ hoặc Syncthing P2P cho cross-device.
Bao nhiêu vault cùng lúc OK?
Không có limit kỹ thuật. Mình dùng 3 vault parallel: personal research, work agency, blog content. Mỗi vault tách isolated. Switch vault qua Obsidian → Manage Vaults. Hot-key Cmd/Ctrl+Shift+O trên Mac. Tránh quá 5 vault parallel vì khó manage.
Cài Obsidian trên server Linux headless được không?
Được nhưng không cần. Obsidian là desktop app cần GUI. Trên server headless, dùng vault folder qua SSH + edit bằng Vim/Neovim hoặc Helix. File markdown thuần, không cần Obsidian app để edit. Obsidian features (graph view, plugin) chỉ available khi mở app desktop/mobile.
Có thể migrate từ Notion sang Obsidian không?
Được. Notion có export to Markdown trong Settings → Export. Tải zip file, extract, copy vào folder vault Obsidian. Process khoảng 30 phút cho vault 500 notes. Migration loss: database queries (Notion-specific), inline blocks, sync blocks. Plain text content + images preserve OK.
Plugin có thể uninstall sau không?
Được. Settings → Community plugins → Installed plugins → click trash icon plugin. Plugin bị remove khỏi vault. Data plugin tạo (templates, queries) vẫn lưu trong vault, có thể manual delete. Không có vendor lock-in từ plugin.
Bạn Bắt Đầu Cài Obsidian Như Thế Nào?
Bắt đầu bằng download Obsidian từ obsidian.md cho hệ điều hành của bạn. Cài đặt 5-10 phút, tạo vault đầu tiên 2 phút, configure settings 5 phút, install 5 plugin core 5 phút. Tổng 20-25 phút là bạn có vault Obsidian production-ready.
Tuần đầu focus learn navigation cơ bản: tạo note, link bằng wikilinks [[]], search vault với Ctrl/Cmd+Shift+F, dùng graph view xem network. Tuần thứ hai thêm Daily Notes routine. Tuần thứ ba experiment Templater + Calendar. Sau 1 tháng bạn quen workflow Obsidian, ready advance lên integration với Claude Code.
Cluster Obsidian + Claude Code của ongboit gồm các bài nâng cao sau cài đặt: Obsidian là gì cho concept overview, pillar Obsidian + Claude Code integrate AI, PARA folder structure tổ chức vault, CLAUDE.md 5 templates cấu hình schema. Recommend đọc theo thứ tự sau khi cài đặt để không bị overload.
Tài liệu tham khảo bên ngoài
- Obsidian Help, Download and install (official), hướng dẫn download chính thức.
- Obsidian Help, Manage vaults (official), quản lý vault detail.